|
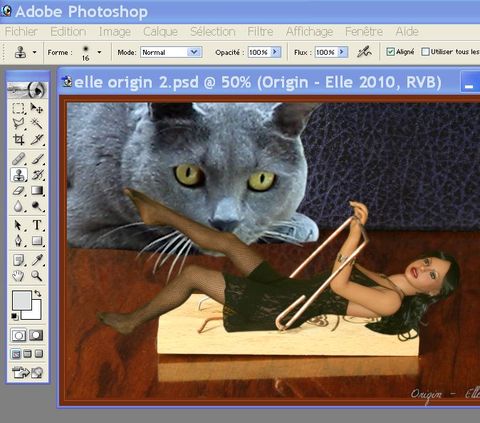
I did this pic for
CoverDoll september edition but without the reflections
because i was internet less and not skilled enough
to create the reflections. I would like to add some
reflections today, for the cat and for Elle. The
reflection of the trap is from the original photo.
|

A- select
the layer of your character (Elle here) then click
right and duplicate the layer, i give 'reflect
elle' as new name
|
|

B- The new layer
'reflect elle' is created and selected
|
|

C- Use the menu 'EDITION'
then 'TRANSFORM' then 'VERTICAL SYMETRY'
|
|

D- The symetry is
applied to layer 'reflect elle'.
|
|

E- Use the moving
tool to move the layer where you think the reflection
of your character should be.
|
|

F- Now or later :
change the opacity of the layer 'reflect elle' so
that the reflection is transparent enough for you.
you can use the 'background' choice just under the
'opacity' tool too.
|
|
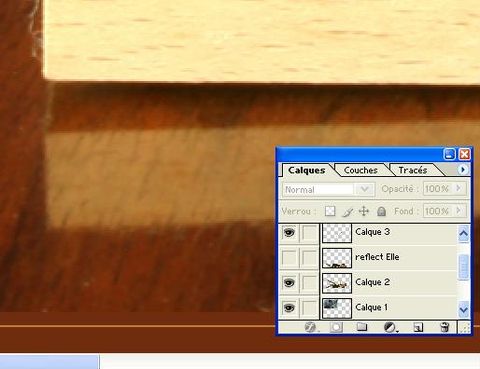
G- Hide the layer
'reflect Elle' by clicking the eye in front of it.
|
|

H-
select the layer of your background
|
|

I- after having zoomed
the pic, select the part of the background which
must be a foreground over Elle's reflection (hidden)
|
|
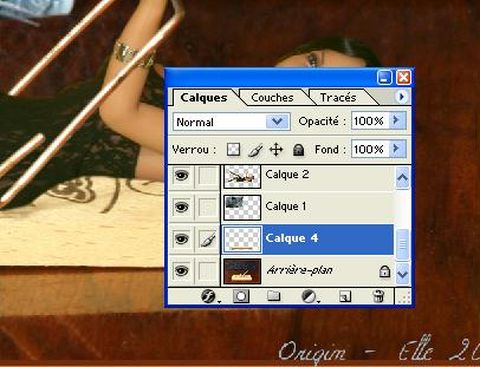
J- copy/paste this
partial foreground, creating a new layer 'calque
4' in my example.
|
|

K-
click the eye in front of layer 'reflect Elle' so
that the reflect appears
|
|

L- move the layer
of the partial foreground 'calque 4' above the layer
of Elle's reflection using a drag & drop. The
reflection of the trap is now over the reflection
of Elle.
|
|

M- Use the menu 'SELECTION'
then 'GET BACK the SELECTION (recuperer in french)'
of your Layer 'calque 4' foreground of the trap.
We will give a less sharpened look to the reflection.
|
|

N- use the menu 'SELECTION'
then 'CHANGE' then 'FRAME (cadre in french) to change
the selection to only the border of the selection
(i used 4 pixels as the width of the border)
|
|

O- use the menu 'FILTER'
then 'ATTENUATION (in french)' then 'GAUSSIAN BLUR'
and apply a value of # 1.4
|
|

P- For the reflection
of the cat. Do the step A to E as you did them for
the first character. Then use the menu 'EDITION'
then 'MANUAL TRANSFORMATION' to change the form
of the cat because its reflection must be more flat,
i think.
|
|

Q- Use the cursors
of the shape to change the form of your cat then
validate by 'ENTER'
|
|

R- Dont forget to
change the opactiy of the layer of the cat's reflection
like you did step F
|
|

the cat's back could
be rounded but that's enough for now ;)
Here's the finished pic you can click to view in
medium resolution.
Thanks for reading
;)
|

