|

The goal is to erase
some areas of the pic because they are doll's accessories
(stand) , or some parts of the set we don't want
to see.
|

Another examples of accessories
interesting to understand how the scene has been
done but which are bothering for the historical
reality of the scene ;)
|
Erasing the bicycle's wheel

First we must protect the areas
of the head which could be damaged by the erasing
of the wheel. Their protection is done by a simple
COPY. First, zoom the pic so that the selection
of the protected area will be more easy.
|

Select the tool "Polygon
Lasso"
|

The selection is done by clicking
the area and by joining the start point. Please
notice that the precision of the selection must
only be for the areas adjoining the wheel.
|

Do a COPY
|

do a PASTE
|

Note that a NEW LAYER appeared
in the Layer's window, it contains your selection,
and as it is above the background in the list
of layers, all the erasings you will do to the
common areas won't damage them.
|

Select the background's Layer
before beginning the erasing.
|

Select the tool "CLONE STAMP"
|

Change its size (here 39 px) depending
of the work to do, the shape is round, mode is
normal and opacity is 100%. This tool works like
this :
- ALT + CLIC on a spot of the pic where you want
to copy a texture (rounded) because you plan to
use this texture where you need to erase something.
- CLIC on a spot of the wheel (object to erase)
to apply the texture.
- new CLICs or continuous CLIC are possible for
more PASTE but i think it's better to change the
source texture by doing another ALT + CLIC each
time.
|

You can click on the aeras of
the head which are saved into LAYER 1, they will
stay as original. It was easy above, the texture
was black, black and black ;) As you can see,
the outline of the head is too sharp, a solution
below...
|

Select the LAYER 1 (saved head's
selection)
|

Use the POLYGON LASSO tool to
select a thin outline (of hairs). We will transform
it into something less sharp to bring a more natural
transition between the black background and the
head. Maximize the zoom's level before doing your
selection
Note : the selection above is not thin enough,
just an example !
|
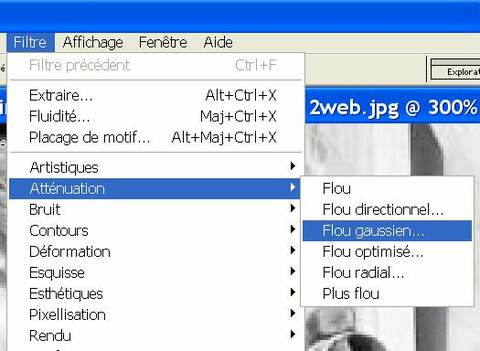
After you selection is ok, use
a GAUSSIAN BLUR (value of #1.5)
|

Here the result ( mode ZOOM).
At a normal resolution, you won't see a flaw anymore
:)
|
alternative tool to the POLYGON LASSO.

That's the MAGIC WAND, used with
a low value of TOLERANCE (5) and the mode "cumulative
selections". You must maximize the Zoom and
add each selection to the others by clicking the
areas, you will get a very exact selection.
Here the goal is to protect the cap from the erasing
of the bumper. The selection done, do as above
: COPY then PASTE to obtain a new LAYER saving
your selection.
|

Now the wheel and the bumper are
deleted. It was easy because we only need to COPY
some black areas and the tool "CLONE STAMP"
is easy. For the leaf and the ground, you need
to change the size of the tool and to copy (alt
+ clic) the good texture at the good spot (same
brightness, same texture...) before pasting it
on the target area (clic)
|

You can click on the pic to see
the final result.
|
|
|


